Extrude


 Extrude
This tool allow us to eject the set of faces or edges selected in different ways.
Toolbar |
SubD › Edition › Extrude |
Menu |
Clayoo › Edition › Extrude |
Command |
_ClayExtrude |
Extruding faces
Extrude of the same geometry depending on the extrude mode:
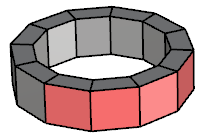
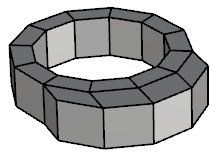
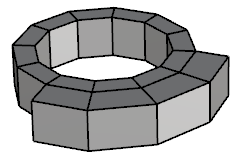
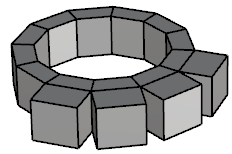
Current selection |
Group |
Local Normals |
Individual |
Same example increasing the number of segments:
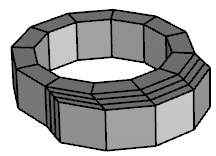
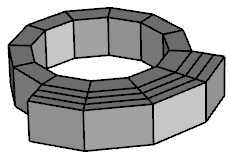
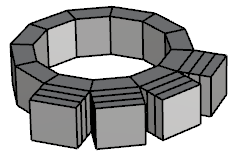
Current selection |
Group |
Local Normals |
Individual |
Same example decreasing the taper value:
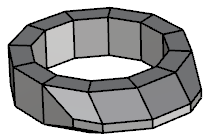
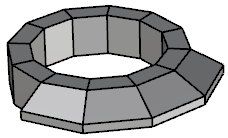
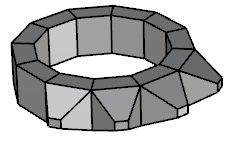
Current selection |
Group |
Local Normals |
Individual |
Using a curve with tapered value decreased:
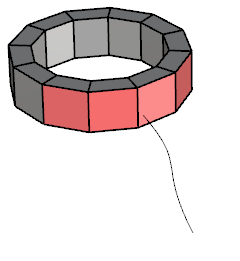
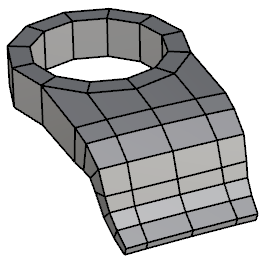
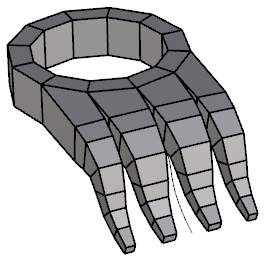
Current selection & curve |
Group |
Individual |
Extruding with  move and
  scale gumball
› To extrude with the gumball we must press the  Alt key on our keyboard while transforming.
Extruding edges with move and scale gumball:
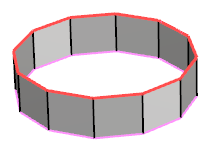
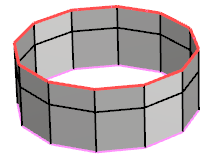
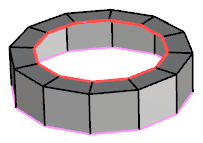
Current selection |
|
|
Extruding faces with move and scale gumball:
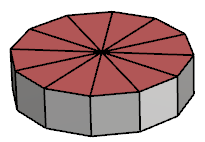
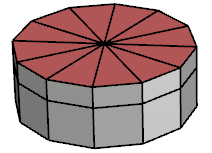
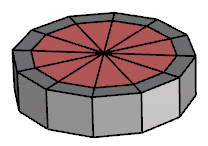
Current selection |
|
|
Extruding edges
The most common way to extrude edges is using the gumball, as we have already seen.
When running extrude with edges selected we are duplicating the edge loop in the current position (instead of showing the interface, that only appear with faces).
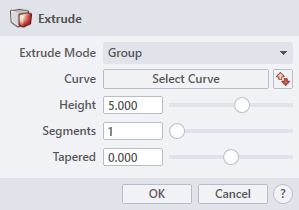
› Extrude Mode
Sets the property of the extrude style. The drop-down list allow to choose between:
› Curve
This button allow us to create the extrusion following a curve. The option is available when in Group or Individual extrude mode.
›  Flip Curve
Flips the curve direction swapping the start and end points.
› Height
Sets the distance from the selection to the end of the extrusion.
› Segments
Sets the divisions along the extrusion (when using a curve to follow, the number of segments should be increased to fit better).
› Tapered
Sets the deformation (narrow or broad) of the end of the extrusion.
1. Click  button to validate the command and apply the new geometry on the scene.
2. Click  button to cancel the command, and refuse to apply geometry on the scene.
3. Click  button to open the help information of the command, in case you need more detailed information about the tool being used.